


Mastering OEM paint standards is key for automotive bodyworkers aiming for excellence. Adhering to these guidelines ensures consistent, high-durability finishes, reduces rework, and meets industry benchmarks. Achieve accurate color matching through proper workspace preparation, using calibrated equipment and organized reference materials. A meticulous step-by-step guide outlines the process from priming to painting and touch-ups, ensuring professional results that meet OEM standards for various repairs.
“Elevate your painting precision with OEM paint standards—the industry’s gold standard for quality. This comprehensive guide unveils 10 invaluable tips to seamlessly integrate these standards into your daily work. From understanding the basics and reaping benefits like improved consistency and reduced waste, to preparing your workspace and mastering application techniques, each step ensures accurate color matching. Embrace these practices to achieve professional-grade results with OEM paint standards.”
- Understanding OEM Paint Standards: Basics and Benefits
- Preparing Your Workspace for Accurate Color Matching
- Techniques for Consistent Application: A Step-by-Step Guide
Understanding OEM Paint Standards: Basics and Benefits

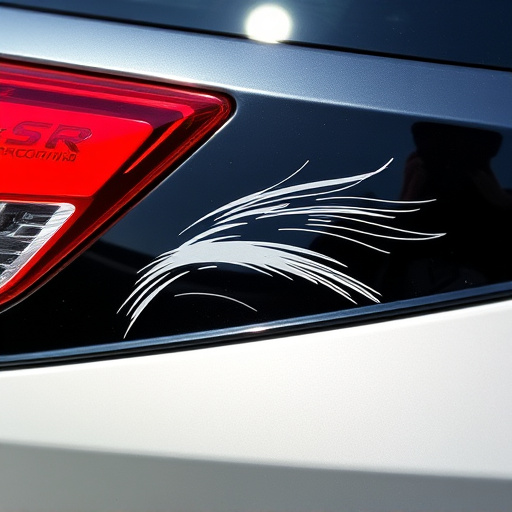
Understanding OEM paint standards is key for achieving high-quality results in automotive repairs and bodywork. These standards, established by original equipment manufacturers (OEMs), provide specific guidelines for paint composition, application techniques, and finishing expectations. By adhering to OEM paint standards, professionals can ensure that car scratch repair, frame straightening, and other bodywork procedures meet the highest industry benchmarks.
The benefits of following OEM paint standards are numerous. They guarantee consistent, durable finishes that match the original factory specifications, enhancing the overall appearance of vehicles. Moreover, these standards promote efficient workflow and reduce rework, saving time and resources for both repair shops and customers. With a focus on precision and quality, OEM paint standards serve as a blueprint for achieving impeccable car bodywork results.
Preparing Your Workspace for Accurate Color Matching

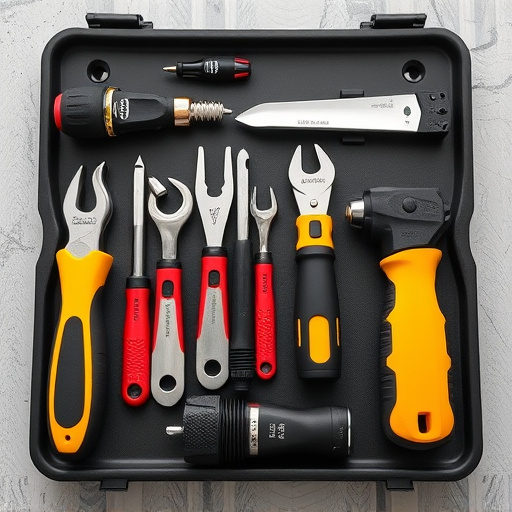
To achieve accurate color matching with OEM paint standards, preparing your workspace is key. Begin by ensuring proper lighting conditions; natural daylight or a well-lit, shadow-free area is ideal for precise color analysis. Install a color-calibrated monitor to accurately represent digital color swatches and specifications from the OEM paint charts. Invest in quality tools like precision knives, spatulas, and application equipment recommended for the specific OEM paint system you’re using. A clean, organized workspace minimizes distractions and allows for focused work.
Additionally, organize your OEM paint standards and reference materials within easy reach. Consider using a color-coding system or labeled trays to categorize paints by vehicle make, model, year, and color code. For a car body shop or vehicle body shop tackling complex repairs like car scratch repair, this meticulous preparation is crucial for achieving factory-like finishes.
Techniques for Consistent Application: A Step-by-Step Guide

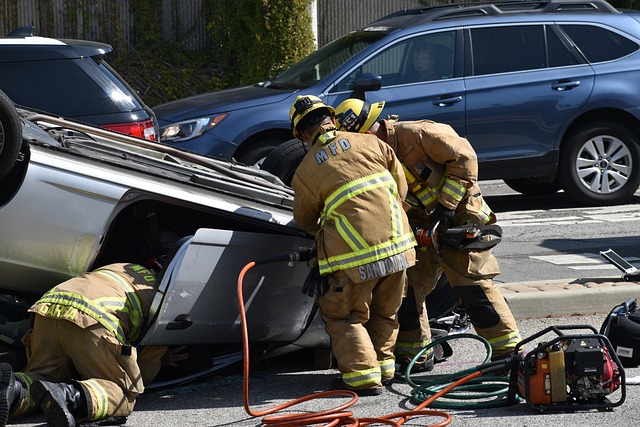
Achieving consistent results when applying OEM (Original Equipment Manufacturer) paint standards requires precision and a systematic approach. Here’s a step-by-step guide for professionals in collision repair centers or vehicle dent repair shops to ensure every job is executed flawlessly:
1. Preparation: Begin by ensuring your workspace is well-lit, clean, and organized. Gather all necessary tools, including high-quality paint sprayers, tape, masks, and rags. Proper preparation of the vehicle’s surface is crucial; thoroughly clean and degrease the area to be painted, as any impurities can affect the adhesion and finish.
2. Surface Priming: Prime the vehicle’s panel before painting to create a smooth base. This step is vital for even paint distribution and final durability. Use a high-quality primer designed for automotive applications, allowing it to dry completely according to the manufacturer’s instructions.
3. Masking and Tape: Protect adjacent areas from overspray using masking tape and plastic sheeting. Be meticulous in your taping to avoid any paint seeping under the edges. Masking ensures that only the intended area is painted, maintaining the pristine condition of other surfaces in the collision repair or vehicle body repair process.
4. Paint Selection: Choose the appropriate OEM paint shade, ensuring it matches the vehicle’s original color precisely. Refer to the manufacturer’s specifications and use high-quality paints designed for optimal coverage and durability.
5. Application Technique: Employ a consistent spray pattern while applying the paint. Maintain a steady distance from the surface and ensure even coverage. Overlapping strokes can help avoid missed spots, especially in hard-to-reach areas or vehicle dent repair scenarios.
6. Layering and Drying: Apply layers of paint as recommended by the OEM specifications. Typically, this involves a base coat, primer, and topcoat. Allow each layer to dry completely before applying the next, ensuring optimal adhesion and minimizing imperfections.
7. Inspection and Touch-ups: Regularly inspect your work during the painting process to catch any mistakes early. Once complete, carefully remove masking tape and inspect the final finish. Address any touch-up needs promptly to maintain the high standards of a professional collision repair center.
Implementing OEM (Original Equipment Manufacturer) paint standards in your daily work can significantly enhance the quality and consistency of your painting projects. By understanding the basics, preparing your workspace, and mastering application techniques, you’re well-equipped to achieve professional results. These 10 tips serve as a comprehensive guide, enabling you to leverage OEM paint standards effectively, ensuring accurate color matching and consistent application every time.